Last week I had the pleasure of attending the Kent Computing Conference (#KentCS). I was there to present two workshops in the afternoon, one on Kodu and the other on Minecraft & Python. First; I was lucky enough to be able to spend the morning enjoying two excellent keynotes and a workshop by Phil Bagge. I’ll summarise the key information below.
Keynote 1 – Phil Bagge
Phil focussed a lot on the importance of debugging programs as being an essential part of programming. I’d never thought of it that way before, of course debugging happens all the time but I’d never sat back and considered it’s impact on learning until now. Phil highlighted how this builds resilience and problem solving and emphasised the fact that it is not the teacher’s job to debug code and he is quite right. As a teacher I sometimes find it difficult not to jump in and “rescue” a child when they are struggling but in reality this does them no favours as they simply learn that “if it doesn’t work someone else will fix it” which is complete the wrong mindset. In fact, Phil pointed out that it leads to what he calls “Learned Helplessness” which can result in two things:
- Being stuck and having no idea why
- Being stuck and making no attempt to fix the problem themselves
He also identified reasons why pupils may learn helplessness and identified the following:
- ICT was about the finished product
- Teachers who fix things for pupils (I think we’re all guilty of this at times!)
- Pupils who dive in and solve things for other pupils
- Adults who model helplessness
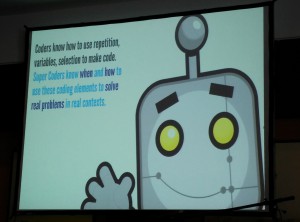
As a profession I think it is important that we accept that it is okay for students to struggle as this is all part of the journey and probably means they are learning. With programming in particular, often the journey is more significant than the end product. He has a very useful resource on his website that offers guidance to teachers regarding debugging. The keynote followed into discussion around the focus on computational thinking with:
- Algorithms – a good example was shown where pupils would create a flowchart of getting up in the morning, broken down into small steps.
- Abstraction – Reducing complexity by hiding irrelevant details, the London Underground map was listed as a good example of this
- Decomposition – breaking a process down into manageable chunks, he discussed how it was beneficial to do this both as a class and as individuals.
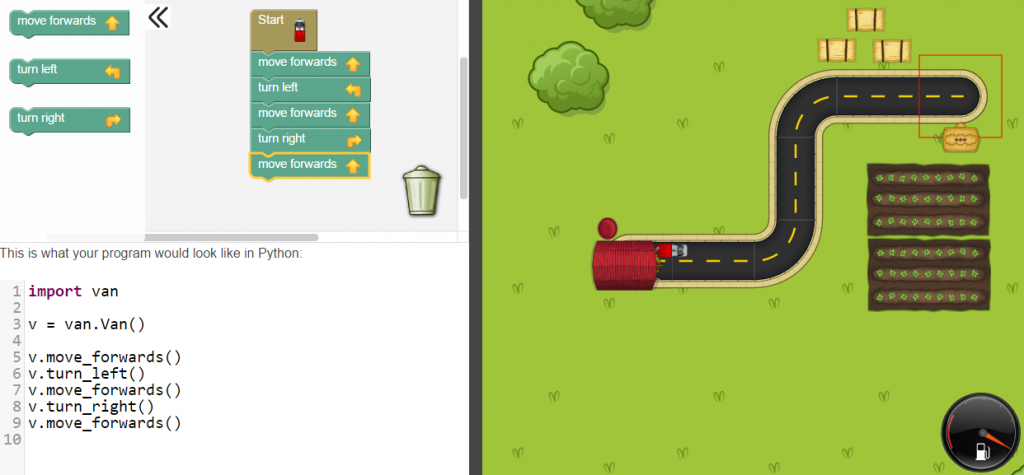
Another useful resource Phil shared was an online learning tool called Rapid Router, which combines the visual programming language, Blockly, with Python and enables children to work through various programming techniques at their own pace, first visually then moving on to using Python to solve the given problems. I’ve signed up my school as I see it as a lovely way to introduce some of the key topics to year 7 before they move onto their Python topic in Year 8:
Workshop 1
I remained with Phil for the first breakout workshop which was an unplugged session looking at various resources. The best of which I have noted below:
Keynote 2 – Max Wainewright (creator of 2Simple software)
 I found Max’s keynote speech really interesting and he provided a range of useful ideas for the classroom. I particularly liked a nice starter idea which involved using pseudo code scenarios to which children put up their hands if the scenarios are true. These would look something like this:
IF breakfast == cornflakes THEN raise right hand
He then discussed problem-solving approaches and looked at decomposing as one method, showing an example of a simple balloon game to which we, as an audience had to work out the rules that made it function. I can see this being an excellent way to make students think about programming and algorithms.  Max also mentioned “Rubber Ducking” in which students would explain their program to a rubber duck in order to verbalise what they are doing in their programs.
Another interesting classroom idea, similar to the starter mentioned above, was the use of playing cards, giving out large cards to children then displaying programming instructions relating to the cards they have, for example:
IF card colour == red AND value > 5 THEN stand up
Afternoon Workshops
 I delivered two workshops in the afternoon:
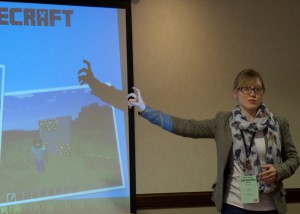
- Minecraft & Raspberry Pi – In this session I covered some basic Python programming techniques that can be used with the Raspberry Pi version of Minecraft. Click here to download the PowerPoint from the session.
- Game Creation in Kodu Game Lab – Here I covered the basics of how to create a simple game in Kodu Game Lab and introduced delegates to the Kodu Kup. Click here to download the PowerPoint from the session.
Closing Key Note – David Brown (HMI)
The conference finished with David Brown from OfSted ironing out a few OfSted myths which I found quite interesting. In relation to my subject he highlighted the importance of regularly ensuring children and ALL staff are aware of e-safety procedures and how to deal with issues. He advised delegates to read the School Inspection Handbook to keep up-to-date with OfSted procedures.
One point I was particularly pleased David raised was that of recording aural feedback. In Computing we often give out feedback aurally and I know colleagues in other schools have been required to find ways to record this, I’ve often thought of this as a pointless activity, one that exists purely to tick boxes when in reality the time spent recording the feedback would be be better spent actually acting on said feedback! David made it very clear that it is NOT an OfSted requirement to record aural feedback so I was really pleased to hear this!
Overall this was a very enjoyable day and a really interesting conference. If you want to read more, all the resources from the day have been cleverly shared using Padlet:

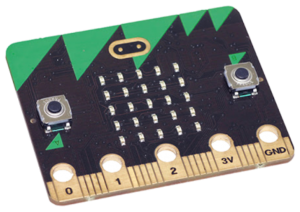
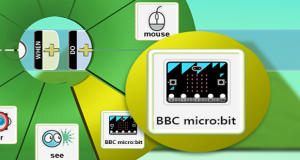 Although I’m not planning to embed the Micro:Bit into our lessons, one thing I am interested in is the integration with Kodu. By coincidence (or luck) our year 7s will be working on their